Day 3 of the 7-Day Challenge: Real-Time Data, Charting, and the Perils of --force
As I mentioned in my Day 2 post, the momentum from my first build session was so strong that I rolled straight into the work planned for Day 3. This post covers that second, hyper-productive session where the app transformed from a static list into a live, interactive tool.
The goal for this 1 hour and 40-minute session was ambitious: rip out the static data fetch and replace it with a live WebSocket feed, and build a details screen complete with data visualization. This is where my experience as a senior engineer, augmented by AI, created a “super-human” level of productivity.
Part 1: Preparing for Real-Time with a Global Store
Before I could even think about WebSockets, I had to solve an architectural problem. My coin data was living inside the MarketsScreen’s local useState. To update this data from an external source like a WebSocket, I needed to move it to a centralized, global store.
For this, I chose Zustand. It’s a lightweight, modern state management library that’s much simpler than Redux but powerful enough for our needs. I created a useCryptoStore that would hold our array of coins and expose actions to setCoins and updateCoinPrice. This was a quick and clean setup that prepared the app for the next big step.
Part 2: The WebSocket Challenge: Node.js vs. React Native
This was the core technical challenge of the session. I prompted my Gemini AI assistant to create a WebSocketService class to connect to Coinbase’s live ticker feed. The initial code it generated looked good, but it contained a subtle but critical bug for a React Native environment: import WebSocket from 'ws';.
The ws library is for Node.js servers. React Native, running on a mobile device, has its own browser-compliant WebSocket API built-in. Including this import caused a conflict. The fix was to remove the import and trust the global WebSocket object provided by the React Native environment. This is a great reminder of the nuances between different JavaScript environments.
Part 3: The Navigation Challenge & The Perils of --force
With live data flowing into the store, the next step was to build the navigation flow to a details screen. This required refactoring my navigation from a simple BottomTabNavigator to a StackNavigator that contains the TabNavigator.
When I tried to install the necessary package with npx expo install @react-navigation/stack, I was greeted by a familiar foe: the ERESOLVE dependency conflict error.
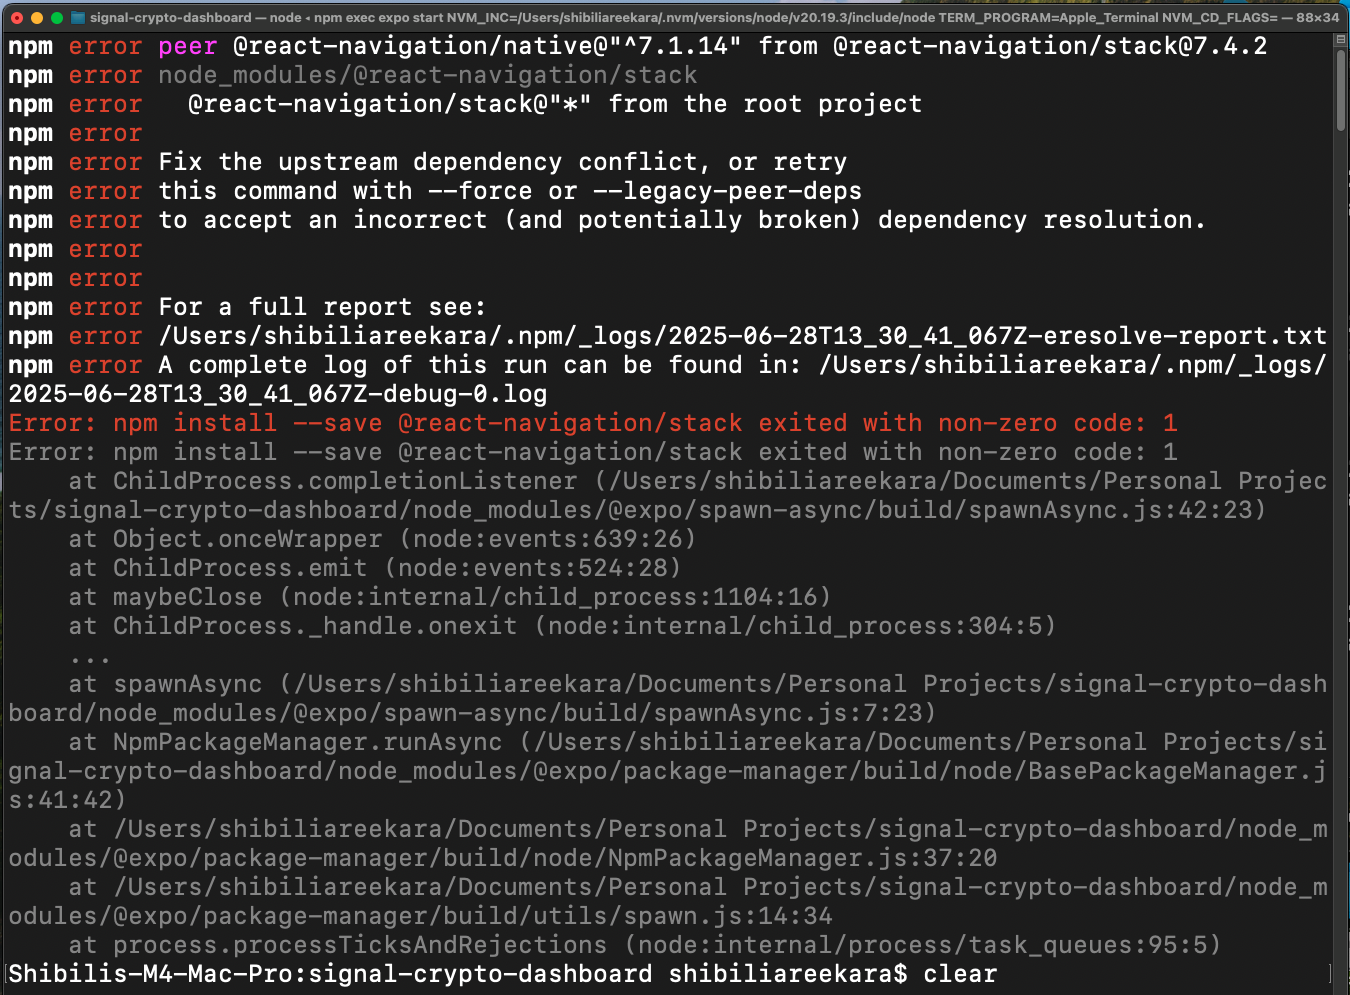
The error log suggested a tempting quick fix: retry the command with --force. This brings me to my key insight of the day:
Using --force is a trap. It might solve the immediate terminal error, but it does so by creating a broken and unstable project with mismatched library versions. This would undoubtedly lead to strange bugs down the road. The professional solution is to address the root cause.
The correct fix was to tell npm exactly which version I needed: npx expo install @react-navigation/stack@^6. This command installs the latest version of Stack Navigator that is compatible with version 6 of the core navigation library, resolving the conflict cleanly.
Part 4: The Final Polish - Charting
With the navigation working, building the DetailsScreen was straightforward. I added a new function to my coingeckoAPI service to fetch 7-day historical data for a specific coin and used the react-native-chart-kit library to create a clean, minimalist sparkline chart, inspired by modern fintech UI.
The Result: A Live, Interactive Dashboard
Today was incredibly productive. We now have an app with live price updates, a clean navigation flow, and data visualization.
We are significantly ahead of schedule. The initial struggles have been replaced by rapid progress. Tomorrow, the plan is to tackle Day 4: refactoring, optimization, and adding the “Watchlist” feature.
The app is now live and interactive, but looking “fast” isn’t enough. It needs to be truly performant. The next session was a deep dive into the kind of “under-the-hood” work that separates a good app from a great one.
Next up on Day 4: The 40-Minute Optimization Every React Developer Should Know
Join the Discussion
I’m documenting my journey to learn in public. Your feedback is a crucial part of that process.
1. What part of this post was most valuable to you?
- (A) The explanation of Zustand for global state.
- (B) The debugging story for the WebSocket connection.
- (C) The insight on why
--forceis a trap.
Let me know your answer (A, B, or C) in the comments below!
2. A Question For You: Have you ever been tempted to use a “quick fix” like --force that you knew might cause problems later? How do you balance speed with stability in your own work?
The best way to follow this 7-day sprint is by joining my newsletter for daily updates directly in your inbox.